Older Plaster: Hardwired vs. Plug-In Sconces
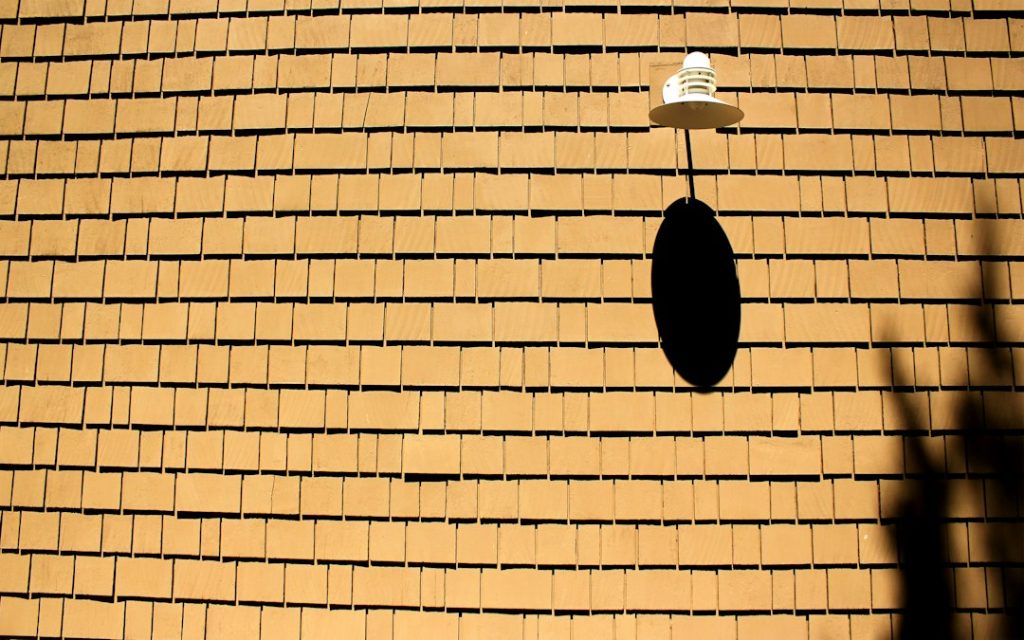
So, you’ve got older plaster walls and you’re thinking about sconces. Great choice! Sconces can add a ton of character and useful light. The main question you’re probably wrestling with is whether to go with hardwired or plug-in. Here’s the quick answer: if you want a seamless, built-in look and don’t mind a bit more effort (and potentially professional help), hardwired is the way to go. If you need flexibility, ease of installation, or are renting, plug-in sconces are your best friend.
Understanding Your Walls: Plaster’s Peculiarities
Before we dive into wiring, let’s talk about those beautiful, sometimes finicky, plaster walls. Unlike drywall, which is relatively soft and easy to cut, plaster is a different beast.
What is Plaster?
Plaster is essentially a mix of lime or gypsum, sand, and water, often applied in multiple layers over lath (thin strips of wood or metal). It creates a very durable, solid surface, but it’s also brittle.
Why Plaster Matters for Sconces
When you’re installing anything into plaster, you’re not just dealing with a surface layer. You’re dealing with a multi-layered system that can crack, crumble, or be surprisingly dense. This impacts how you cut, drill, and secure fixtures.
Hardwired Sconces: The Permanent Solution
Hardwired sconces are permanently connected to your home’s electrical system. This means wires are run inside the walls to a junction box where the sconce is then attached.
Pros of Hardwired Sconces
- Clean Aesthetic: No visible cords. The sconce looks like it’s always been part of the wall.
- Integrated Lighting: You can control them with a wall switch, integrating them into your room’s overall lighting scheme.
- Higher Resale Value (Potentially): Well-installed, attractive hardwired fixtures can be a selling point.
- Security: Less prone to being knocked off or tampered with compared to a corded fixture.
- Safety: When installed correctly by a qualified electrician, hardwired fixtures generally pose a lower risk of electrical hazards compared to poorly routed or overloaded extension cords.
Cons of Hardwired Sconces
- Complex Installation: This is the big one. It often involves cutting into plaster, fishing wires through wall cavities, and connecting to existing electrical circuits.
- Professional Help Often Required: Unless you’re very comfortable with electrical work and plaster repair, you’ll likely need an electrician and potentially a plasterer.
- Less Flexibility: Once installed, moving them is a significant undertaking.
- Cost: The installation cost can be substantial due to labor for electrical work and plaster repair.
- Damage to Walls: Cutting into plaster inevitably creates dust and requires patching and painting.
Installation Considerations for Plaster Walls (Hardwired)
This is where your plaster walls really come into play.
Locating Studs and Lath
You can’t just drill anywhere. You need to understand what’s behind the plaster. Sometimes you’ll hit a stud (a vertical wood beam), sometimes just lath. Drilling into lath is often easier than trying to drill through the plaster and hitting an empty cavity. Using a stud finder can help, but remember older homes might not have perfectly spaced or straight studs. Sometimes a small pilot hole is the only way to truly “feel” what’s behind the wall.
Cutting into Plaster
This is not like cutting drywall.
- Scoring First: Use a utility knife to score your cut lines deeply first. This helps prevent the plaster from cracking beyond your desired cut.
- Oscillating Multi-Tool: This is your best friend for cutting plaster. It creates less dust and vibration than a reciprocating saw, which can cause significant cracking.
- Dust Control: Plaster dust is fine and gets everywhere. Seal off the room, use drop cloths, and wear a good quality dust mask (N95 or better).
- Repairing Plaster: After the electrical box is in, you’ll need to patch the surrounding area. This involves using patching plaster or joint compound, feathering it out, and then sanding and painting. It’s a skill that takes practice to do well.
Running Electrical Wire
This is often the most challenging part for a DIYer.
- Fishing Wire: You’ll need to fish new electrical wire from an existing power source (like a switch box or an outlet) to your new sconce location. This involves drilling holes through studs (carefully, so as not to damage existing wires or pipes) and using fish tape to pull the wire.
- Junction Boxes: A proper electrical box must be installed behind the sconce to safely house the wiring connections. You’ll need an “old work” or “cut-in” box designed for existing walls. These often have wings or clamps that secure them to the back of the plaster.
Safety First
If you’re attempting hardwiring yourself, make sure the power is OFF at the breaker. Test it with a non-contact voltage tester. If you have any doubts, call an electrician. Seriously. Electrical fires and shocks are no joke.
Plug-In Sconces: The Flexible Friend
Plug-in sconces are just what they sound like: they have a cord that plugs into a standard wall outlet.
Pros of Plug-In Sconces
- Easy Installation: Typically involves drilling a couple of pilot holes and screwing in a mounting bracket. No electrical work required.
- No Wall Damage (Mostly): You’re usually just making small holes for screws, not large cuts.
- Portability/Flexibility: You can move them easily if you redecorate or move to a new home. Great for renters.
- Cost-Effective: No electrician fees, potentially less expensive fixtures.
- Immediate Gratification: Get them up and working quickly.
- No Plaster Repair: You generally avoid the extensive plaster repair that hardwired installations often entail.
Cons of Plug-In Sconces
- Visible Cords: This is the main drawback. The cord running down the wall can be an aesthetic issue for some.
- Limited Placement: You’re dictated by the proximity of an available outlet.
- Can Look Less “Finished”: The cord can give a less integrated, more temporary feel.
- Cord Management: Can be a tripping hazard if not properly managed, and can look messy.
- Switching: Often, the switch is on the cord itself, which can be less convenient than a wall switch.
Installation Considerations for Plaster Walls (Plug-In)
While easier, there are still a few things to keep in mind.
Drilling for Mounting
- Pilot Holes: Always drill pilot holes smaller than your screw diameter. This helps prevent plaster from cracking around the screw.
- Anchors: You’ll almost certainly need wall anchors. Toggle bolts are excellent for plaster because they provide a strong hold in a hollow wall. Plastic expansion anchors can work, but toggle bolts are generally more reliable in older, sometimes crumbly, plaster. Make sure the anchor is rated for the weight of your sconce.
- Don’t Overtighten: Screw the mounting bracket firmly, but don’t overtighten. You can strip the anchor or crack the plaster.
Cord Management Solutions
The visible cord is the biggest hurdle for plug-in sconces.
- Cord Covers: These are plastic or metal channels that adhere to the wall and hide the cord. They can be painted to match your wall color, making them less noticeable. Look for slim profiles.
- Creative Routing: Sometimes you can route the cord behind furniture, under a bed, or along a window frame to minimize its visibility.
- Decorative Cords: Some plug-in sconces come with braided fabric cords that are meant to be seen and can add a design element.
- Concealing the Outlet: Position the sconce so the cord runs directly down to an outlet that’s hidden behind a nightstand or sofa.
- Cord Hooks/Clips: Use small adhesive or nail-in clips to secure the cord neatly against the wall, preventing it from dangling freely.
The “Faux Hardwired” Look: Best of Both Worlds?
There’s a popular hack that gives you the convenience of plug-in with a cleaner look: concealing the cord.
How it Works
You install a plug-in sconce, but instead of letting the cord hang, you run it down the wall and hide it.
Recessed Cord Channels
This is for the more ambitious DIYer. You cut a very shallow, narrow channel into the plaster (just enough for the cord) and then plaster over it. This essentially “buries” the cord, making it look hardwired. This still involves cutting and patching plaster, but avoids the complex electrical wiring. You need to be sure the cord is rated for in-wall use or put it in conduit, which adds bulk. It’s also crucial to remember that code typically requires low-voltage cords only for this method unless proper conduit and junction boxes are used. For standard mains voltage, this becomes a hardwired scenario with all its complexities. It’s often safer and easier to use an external cord cover.
Painted Cord Covers
As mentioned before, a good quality, paintable cord cover can blend surprisingly well, especially if you match the paint perfectly. It’s not truly invisible, but it’s a huge step up from a dangling cord.
Battery-Operated Sconces
While not technically plug-in, battery-operated sconces offer ultimate flexibility with no cords at all. However, they typically provide less light, require frequent battery changes, and often have a more limited aesthetic range. They can be great for accent lighting or areas where light isn’t needed often.
Planning Your Sconce Project
Regardless of which type you choose, a little planning goes a long way.
Location, Location, Location
- Function: Are these for task lighting (e.g., reading in bed), ambient light, or accent lighting? This dictates height and spread.
- Symmetry: Do you want them symmetrical on either side of a bed or mirror? Use a measuring tape and level.
- Obstacles: Are there windows, doors, or furniture that will interfere?
- Outlet Proximity (Plug-in): If going plug-in, is there an outlet close enough?
Sconce Style
- Aesthetics: Does the sconce complement your existing decor and the age of your home? Older homes with plaster walls often lend themselves well to vintage, industrial, or classic styles.
- Size: Don’t pick something too small that gets lost or too large that overwhelms the space.
- Light Direction: Up-lighting, down-lighting, or ambient?
Gathering Your Tools
- Hardwired: Voltage tester, wire strippers, pliers, screwdrivers, utility knife, oscillating multi-tool, fish tape, electrical tape, wire nuts, old work electrical box, patching plaster/joint compound, sanding tools, paint.
- Plug-in: Drill, drill bits for pilot holes, stud finder (optional but helpful), measuring tape, level, pencil, wall anchors (toggle bolts recommended), screwdriver.
- Cord Management (for Plug-in): Cord covers, cord clips, paint (if painting covers).
Final Thoughts: Which is Right for You?
Choosing between hardwired and plug-in sconces for your older plaster walls boils down to a few key factors:
- Budget: Hardwired usually costs more due to professional labor.
- Skill Level/DIY Comfort: Plug-in is far more DIY-friendly. Hardwired often requires an electrician.
- Permanence vs. Flexibility: Do you want a permanent fixture, or something you can easily change or move?
- Aesthetics: How important is a completely cord-free look to you?
- Renting vs. Owning: Renters should almost always opt for plug-in to avoid significant wall modifications.
Neither option is inherently “better” than the other; it’s about what best suits your needs, your budget, and your comfort level with potentially messy, intricate work on your lovely old plaster walls. Take your time, plan it out, and you’ll end up with beautiful, functional lighting.